Blue hour in Budapest. Slawek Staszczuk Photography.

What is Blue Hour photography?

I sometimes get confused looks when I ask my audiences, photography workshops guests or just friends interested in photography – do you know what “blue hour” is?

I’ll try to explain what it means in this article, as it is one of my favourite lighting scenarios for landscape, especially cityscape, photography.

First what Blue Hour isn't...

It’s not a fancy way to refer to night photography. Also, it’s not an alternate name for “golden hour“. These two brief moments, golden and blue hour, happen at slightly different times of day. And they create dramatically different results in photographs. Although, perhaps taken together, they might be called “the magic hour”.

By the way, neither of these two “hours” really lasts an hour, at least not in temperate climate zones. Typically it’s mere minutes, if you’re lucky. And quite often all you get is a prolonged “grey hour”…

Schooner on river Tagues in Lisbon. Slawek Staszczuk photography workshops and courses.

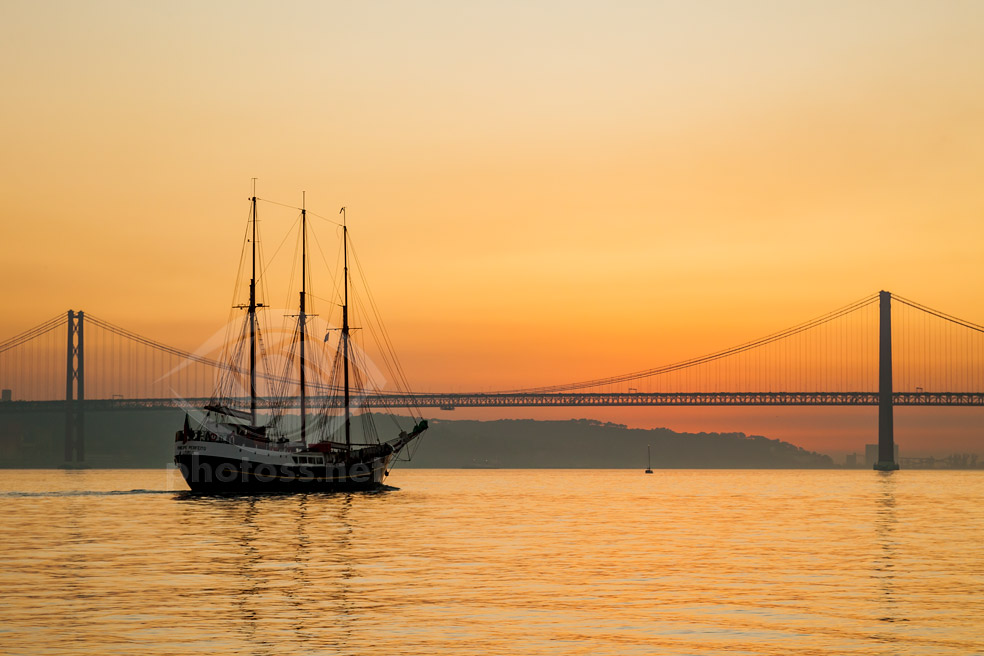
River Tagus in Lisbon, shortly after sunset.
This picture is a good example of Golden Hour. I’m sure you’ll agree it has a very different feel from any other images in this post.

So what is it then?

Blue Hour happens about 30-45 minutes after sunset, when the warm post-sunset glow is already gone. But there is still a lot of ambient light, and the sky isn’t yet black. In the morning it occurs about 45-60 minutes before sunrise.

Due to the lighting conditions during those moments, blue hues and shades tend to dominate, and hence the name. Apart from that, it’s also characterised by subtle tonal variations. Or to put it differently, relatively low contrast levels across the frame. This often results in an almost HDR-esque tonality in the picture, which you can achieve in a single exposure.

Rye, Sussex. Blue Hour Photography

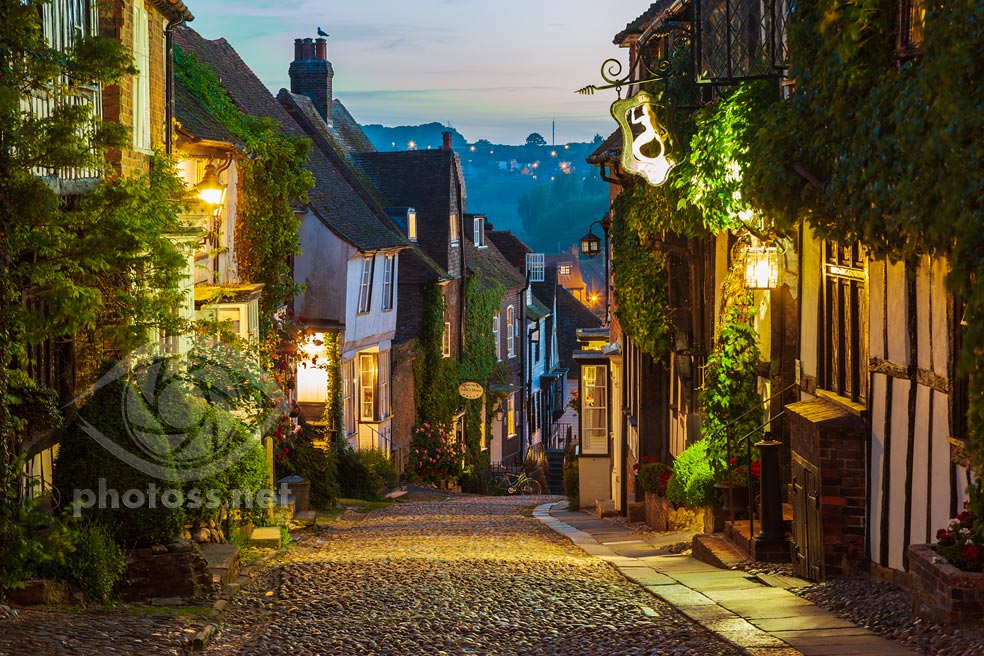
Mermaid Street in Rye, East Sussex.
The first minutes of Blue Hour in the evening. Two moderately strong sources of light are relatively close to the camera, but they’re offset by the still bright sky and resultant ambient light.

Blue Hour on Douro River in Port.

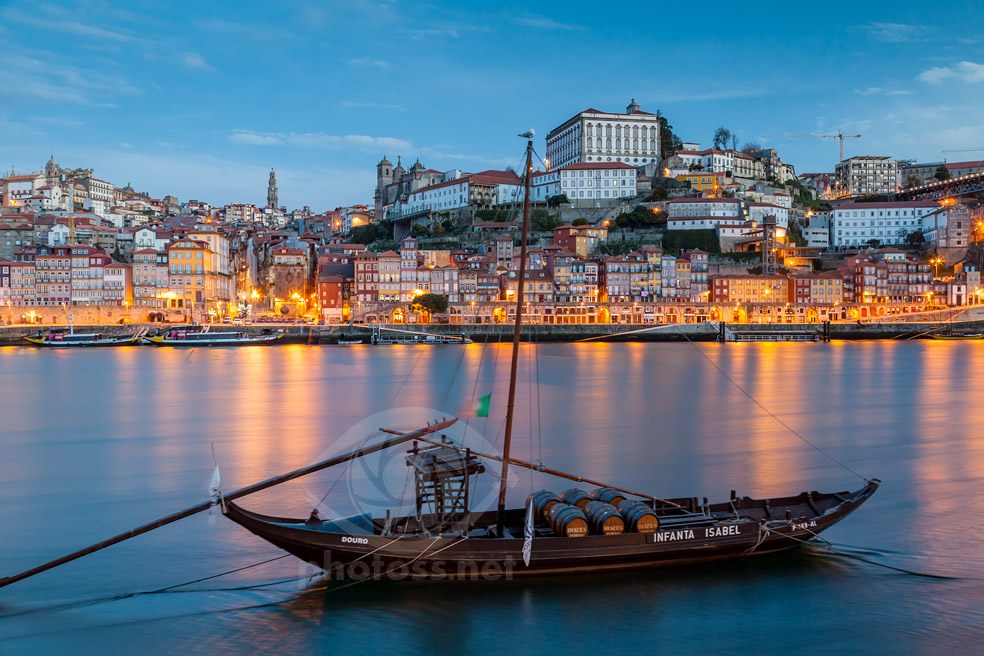
Dawn on river Douro in Porto.

What subjects work for Blue Hour photography?

You can take Blue Hour photographs in any environment, it’s about the special tonality and hues, not necessarily the subject matter. So seascapes, mountain or forest scenes can all possibly work.

However, Blue Hour is arguably at its most spectacular when there are other light sources, not just the fading daylight (fading in or out). Consequently, cityscapes, townscapes and village scenes tend to work well.

Really, in any kind of scene, even one artificial light source can often provide a dramatic counterpoint to the all-encompassing blueness.

Chateau de Chillon at night. Slawek Staszczuk Photography.

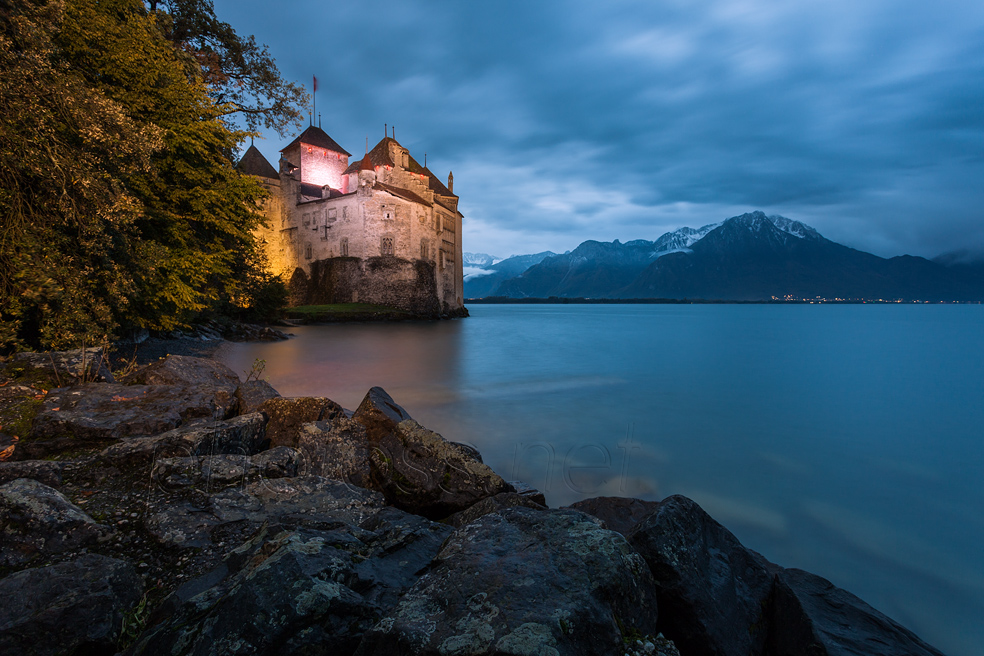
Chateau de Chillon on lake Geneva, Switzerland.

Narrow window of opportunity

By its very nature Blue Hour is short-lived. The transition from day to night, or vice versa, only takes so long. So you need to time and plan your shoot accordingly.

It gets even tighter when there are artificial light sources in the scenery. Then you also need to aim to strike the perfect balance of light from all the different sources. Or at least get as close to this perfect blend as possible.

For example, during an evening session, if you take your picture too early, the sky will be too bright and overwhelming in the scene. Besides, some of the artificial light sources may be still off. You might want to start by shooting frames without the sky in them, to avoid excessive contrast.

If you try to take your pictures too late, the sky will be already too dark. Even if it’s not deep night yet, the contrasts will be too strong for the camera to handle. Not only will the light sources come out “blown” on the exposure, but so will some of the surfaces lit by them.

Look at the blend of light from different sources in this evening scene I took in Kraków old town a couple of years ago.

At this specific moment the ambient light from the sky, illumination on historic buildings, light in windows were all in balance. Even the lanterns are not “blown” and have good detail. Sometimes everything comes together :-).

Krakow Photography workshop 2020.

Time frame

Blue Hour usually lasts 15-20 minutes, starting about 30-45 minutes after sunset, or 45-60 minutes before sunrise. The exact time frame depends on a number of factors and will vary every time. The same scene at exactly the same time may look very different from day to day.

(Note: these rough time frames apply to temperate climate zones. In subpolar regions during summer, Blue Hour can last all night, since the sky never gets dark.)

Cloud cover and atmospheric conditions are the most important factors. Generally, good variable cloud, which can be so helpful during the day, is also great for Blue Hour photography. It can enrich the tonality and the colour palette tremendously. Conversely, blank skies usually shorten the window of opportunity and make everything look blander and more sterile.

But also illumination on some landmarks isn’t switched on every night. You may get lights in windows in “strategic” spots on one occasion, and not on another. Street traffic also varies, and as a result you get different looking light trails, or none at all, on different days. And so on.
All of these factors will change the tonal balance in your scene and affect what you can do.

Riga, Latvia. Travel Photography Slawek Staszczuk.

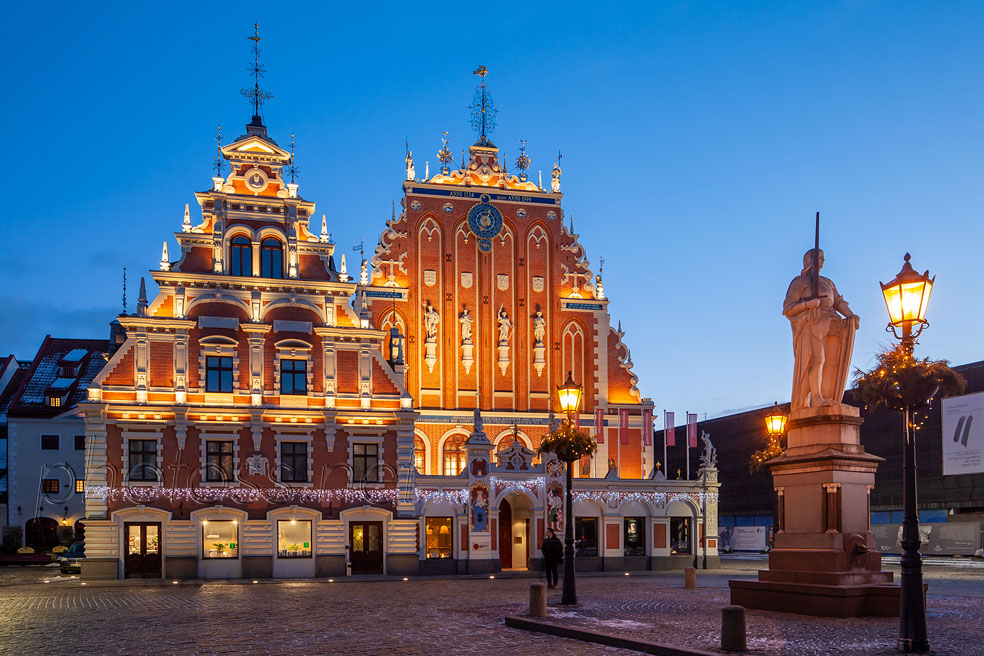
House of Blackheads in Riga, Latvia.
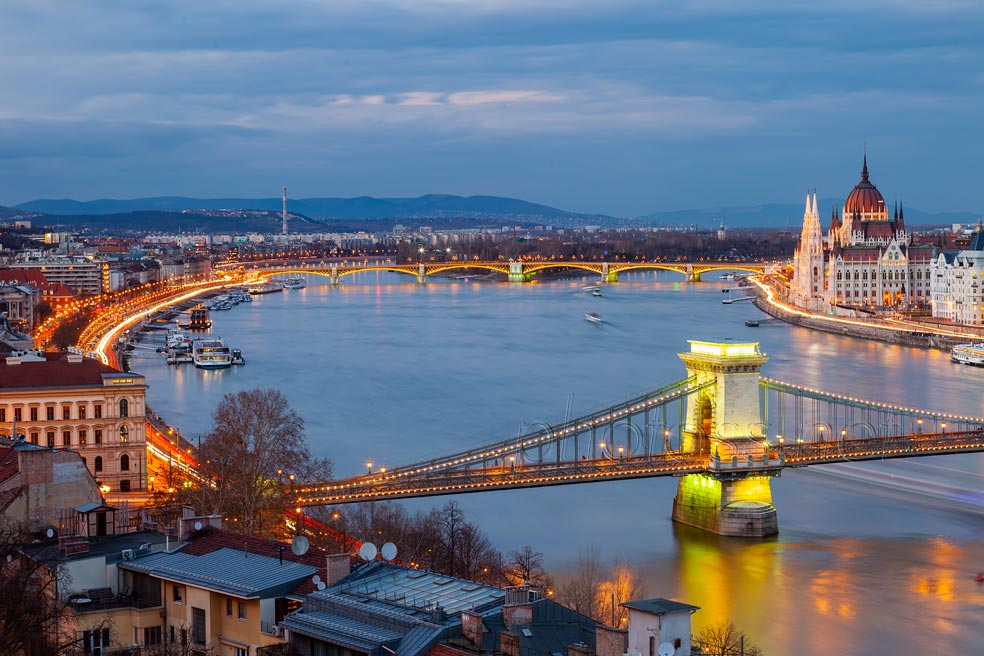
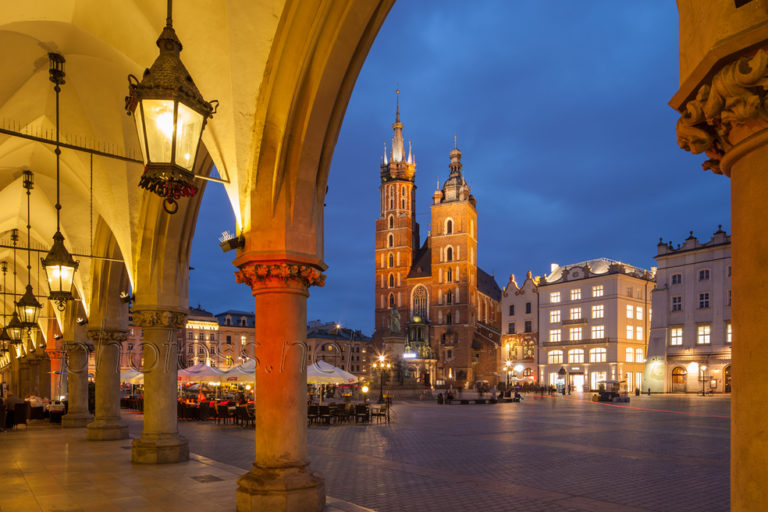
The cloudless evening sky narrowed the window of opportunity somewhat. Lack of “graphic content” in the sky also limited my composition choices.

So obviously timing is crucial, and I’d suggest you start shooting when the sky still looks a bit too bright (or a bit too dark before dawn). And keep shooting when Blue Hour already seems to be past its best. These precious minutes are easy to miss, even for the “trained eye”.

On the other hand, powerful imaging software today lets you squeeze every last drop of dynamic range out of your exposure. As a result you can often effectively process images taken when the contrasts are already, or still, a bit too harsh. “A bit” being the key words here… You can’t turn a deep night exposure into Blue Hour photograph using software trickery.

What settings do I use for Blue Hour photography?

Any that work… Blue Hour is about tonality. For that reason, whether you use a smaller or greater depth of field, higher or lower ISO, wide angle or telephoto… If you only do it at the right moment, the tonality will be the same.

Most of the images in this post were taken with wide angle lenses. The photo of Prague old town below was shot with a long lens.

Prague Photography Workshop 2019. Architecture Photographer Sussex.

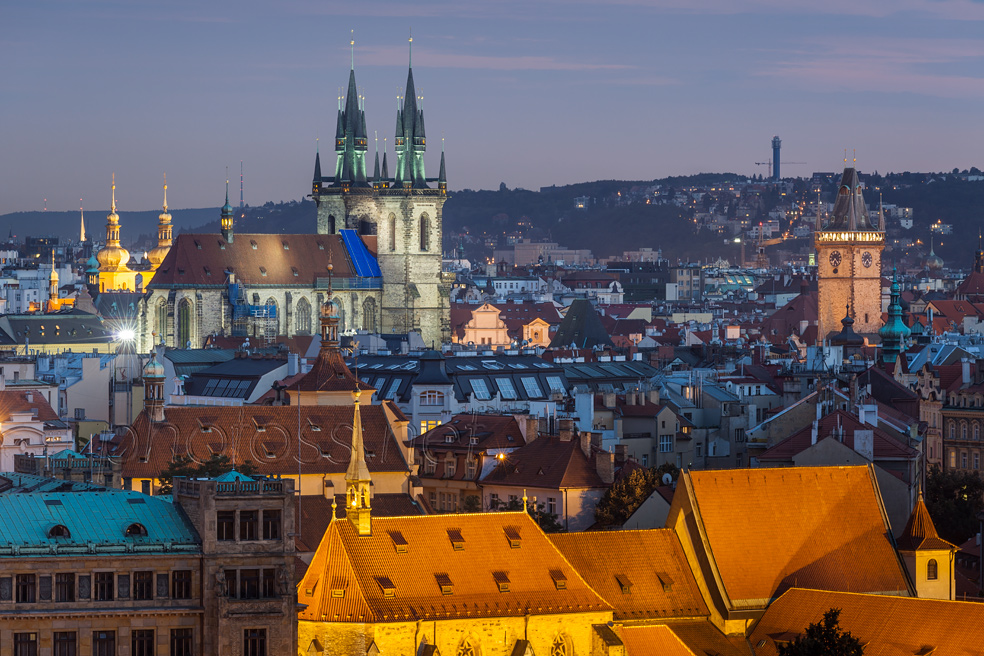
Evening in Prague old town.
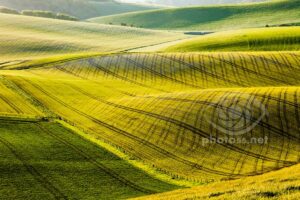
Taken with a 180mm focal length.

You’ll definitely need a tripod though. Due to low light at this time of day your exposures will necessarily be long. Lasting at least a few seconds. A remote shutter release is also a good idea. Otherwise you’ll risk camera shake when pressing the button.

As the light shifts quite during Blue Hour, I suggest you avoid very long exposures (lasting a few minutes). You’ll need to factor in the change in light intensity during exposure in your exposure time calculation. And that’s difficult, practically guesswork.

A few extra tips

Sometimes you may be able to get a little more out of your Blue Hour photography session with a bit of planning.

If you include sky in your frames, think about where it first becomes dark enough in the evening, or bright enough before sunrise… It’s always in the east.

Therefore you can possibly eke a little more out of the opportunity. If only the location gives you some room for manoeuvre, start with perspectives looking in the easterly directions and leave the west for last. However, if there are dark clouds in the west and clear sky in the east, this natural progression can be (temporarily) reversed.

I would also recommend avoiding strong sources of light close to the camera, shining into the lens, if possible. They tend to come out as ugly glaring blobs devoid of any detail. Even if the sky is already, or still, quite bright.

Thank you for reading, I hope you enjoyed this short introduction to Blue Hour photography.

Read other similar articles in my Landscape Photography is Simple “blog”. Or click on a random post below.

Leave a Comment

Your email address will not be published. Required fields are marked *